Why Garage Floor Coatings Peel (and How Prep Prevents It)
August 30, 2026
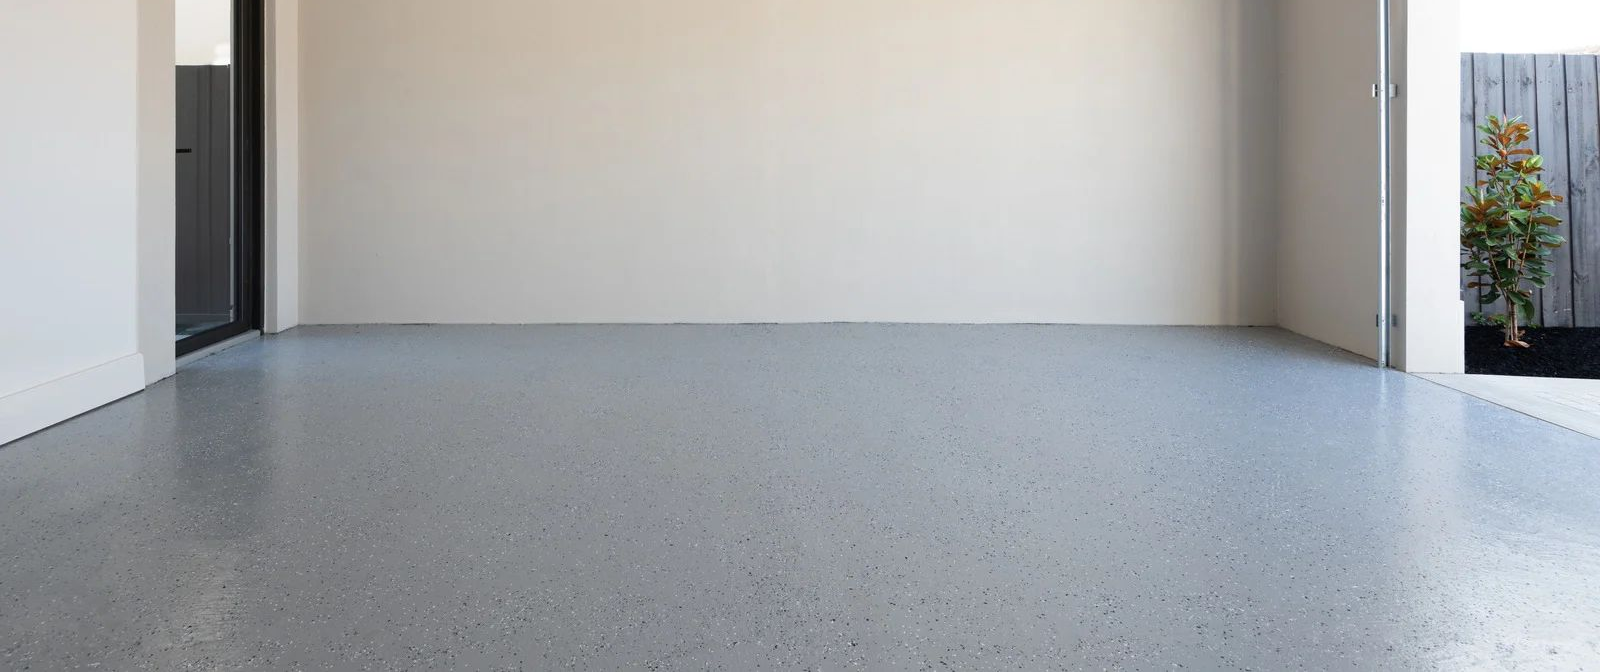
QUICK ANSWER: If your garage floor coating is peeling, the cause almost always traces back to one of a few things: moisture vapor pushing up through the slab from underneath, a surface that got cleaned but never mechanically profiled so the coating had nothing to grip, a product mismatched to what it actually has to survive, hot tires softening a weak bond, or a shortcut kit that was never a true reactive coating to begin with. Whichever one applies to you, it traces back to what happened, or didn't happen, before the first coat went down. Prep isn't a step on the way to the finish. It's the reason the finish holds.
Look at where yours is failing. A section lifting near the garage door threshold points somewhere different than a ring under your driver's-side tire. A sheet that bubbled loose along one wall tells a different story than a floor that held for a decade and only now started going soft. None of that is random. Once you know what to look for, the pattern on your floor tells you almost exactly what went wrong underneath it.
Peeling Is a Symptom, Not a Mystery
Your coated garage floor is really two materials trying to act as one: a rigid, porous slab and a flexible film bonded to its surface. That bond is the whole relationship. When it holds, the two behave as a single unit and the floor performs for decades. When it doesn't, the coating is just sitting on top of your concrete instead of locked into it, and it's only a matter of time before something peels it back off.
Anyone who's chased down enough failed floors treats peeling as a diagnosis first and a repair second. A clean sheet lifting from the edges points somewhere different than a ring shaped like a tire. Roll another coat over the damage without figuring out why the first one failed, and you'll usually get the same result, often faster the second time, because whatever undermined the bond is still sitting there underneath.
Moisture Vapor Is Working Against the Bond From Below
Concrete looks solid, but it's porous, and it's sitting on ground that holds water. That water doesn't stay put. It moves upward through the slab constantly as vapor, migrating from damp ground below toward drier air above. Under bare concrete, that's a non-event; the vapor leaves the surface and evaporates. Seal that surface with a coating, though, and the vapor has nowhere left to go. It keeps arriving from below and builds pressure right at the point where your coating meets the concrete.
Given enough time, that pressure is strong enough to lift a coating that was applied well. Moisture-driven failures tend to look different from the rest: wide sheets separating rather than small chips, blistering spread across a broad area, sometimes a white, chalky residue on the exposed concrete once the coating comes off. That residue is mineral salt, carried up by the same moisture that undermined your bond. Slabs poured directly on grade and garages built into a hillside are the most exposed, and around a lake region where the ground stays saturated much of the year, that's a lot of garages.
Professional crews test for this before coating, not after a floor's already failed. Relative humidity probes set into the slab, following ASTM F2170, give a direct read on how much vapor is moving through the concrete. A simpler field version tapes plastic sheeting to the bare slab and checks it a day later for condensation on the underside. Either way, a slab that reads wet gets a vapor-mitigating primer built into the system before anything else goes on. Skip that step, and the rest of the installation, however skilled, doesn't change the outcome. Your floor might look perfect for a season or two. Then it starts lifting anyway.
A Slab Can Look Clean and Still Be Unprepared
If you're doing your own prep, you're probably focused on clean. Sweep the floor, hose it down, maybe scrub a stain, and the slab looks ready to go. But clean and prepped aren't the same thing, and that gap is where most failures start. Fresh concrete develops a thin, weak surface layer called laitance, a mix of fine cement particles and mineral dust that rises to the top as the slab cures. It's part of the concrete, but it's the weakest part. A coating that bonds to laitance is bonding to a layer that's about to let go on its own.
Removing that layer and opening the pores underneath is what real surface prep does. Concrete Surface Profile, a standardized 1-to-10 roughness scale used across the coatings trade, describes how aggressively a slab has been prepped. Most epoxy and polyaspartic systems need a profile in the CSP-3 to CSP-5 range to bond reliably. Mechanical grinding with diamond tooling is what gets you there, stripping laitance, old sealers, and contaminants while roughening the slab underneath.
Acid etching is still what a lot of DIY guides recommend, and it's still inconsistent by nature. It typically only reaches CSP-1 to CSP-2, a profile too shallow for anything but the thinnest coatings. The same acid reacts differently depending on your slab's age and density, so one section ends up over-etched while another barely changes. And acid does nothing about oil stains, tire dressing, or old sealer left behind, any of which acts as a release layer your new coating will eventually separate from.
TIP: Run a water test after prep, before you coat anything. Pour a cup of water on bare, dry concrete. If it darkens and soaks in within a minute or two, the surface is open enough. If it beads up and sits on top, there's still a contaminant or a slick layer in the way, no matter how clean the floor looks.
The Coating Has to Match the Conditions It Will Face
Not every reactive coating behaves the same way, and picking the wrong one is its own failure category, separate from bad prep. Two-part epoxy cures through a chemical reaction between resin and hardener, and that reaction takes real time, often a full day before your floor can handle traffic. That slow cure gives epoxy deep penetration into properly profiled concrete and strong chemical resistance, which is why it works well as a base coat. Polyaspartic, a fast-curing type of polyurea, cross-links in hours instead of days. The tradeoff is a harder, more UV-stable surface that resists yellowing and holds up better against direct tire heat.
Used alone, either system has a gap. An epoxy topcoat can soften under sustained heat if it isn't built hard enough. A polyaspartic system applied too thin can bond fine but lack the mass to absorb impact and hide minor slab imperfections. That's why systems pairing an epoxy base with a polyaspartic topcoat are common here: the base earns the adhesion, the topcoat carries the heat and abrasion resistance your daily use throws at it. Flake, quartz, and metallic finishes change the look, but that same base-and-topcoat logic still applies underneath.
Your climate matters too. A slab that goes through repeated freeze-thaw cycles each winter, sits near a pool deck that stays damp for months, or handles the humidity swings typical of a lake region needs a system rated for that movement and moisture, not whatever happened to be on the shelf. A coating installed flawlessly can still underperform simply because it was the wrong material for what your floor actually has to survive.
Hot Tires Find Every Weak Spot in the System
Driving heats tire rubber well past 120 degrees, sometimes higher on a summer afternoon. That heat doesn't disappear the moment you shut the car off. Parked over a coated floor, a hot tire transfers that heat straight into the coating underneath it, and rubber compounds release plasticizers, the softening agents that keep tires flexible, as they warm. Those plasticizers migrate to the tire's surface and sit in direct contact with your floor for as long as the car's parked. On a coating with real hardness, that's a non-event. On one that's thin, under-cured, or built on a weak bond, the heat and the plasticizers go to work together and soften the film right at the point of contact.
Once the film softens, it can stick to the tread. The car cools overnight, the rubber contracts and grips the softened coating even tighter, and the next time you drive off, that grip pulls exactly where your bond is already weakest. If the coating's hold on the concrete is any weaker than the tire's grip on the coating, the film goes with the tire instead of staying on your floor. That's why hot tire damage shows up as clean, circular patches right where you park night after night, not scattered randomly across the slab. And it's usually the same two culprits already covered here: a bond that was never strong enough because the slab got acid-etched instead of ground, and a topcoat that wasn't hard enough to resist softening.
Parking on a new coating before it's cured makes this worse. A film that hasn't reached full hardness yet is essentially pre-softened, and a hot tire sitting on it during that window can do damage that wouldn't happen a few days later. That's why every reputable installation gives you a clear cure window before the garage goes back into daily use, even when the surface looks and feels ready sooner.
A Kit From a Shelf Isn't the Same System a Crew Installs
Improper surface prep is cited as the cause behind roughly eight out of ten failed garage floor coatings industry-wide, and DIY projects carry a disproportionate share of that number. Part of it comes down to equipment. Diamond grinding gear isn't something most homeowners own, so the temptation is to lean on cleaning and a light acid wash instead, which lands you right back at the CSP-1 to CSP-2 problem. But a bigger part of the gap has nothing to do with technique. It comes down to what's actually in the container.
A lot of products marketed as "garage floor epoxy" at home improvement stores are single-component, water-based coatings with a small amount of epoxy resin blended in mostly for the label. They dry through evaporation, the same way ordinary paint does, not through a chemical reaction. A genuine two-component system requires mixing a resin and a hardener together right before application, and that reaction between the two parts is what builds the dense, cross-linked film capable of resisting heat and abrasion for years. A single-component product can't build that same structure no matter how carefully you apply it. That's why it's the category most likely to show tire-shaped peeling within its first year or two, regardless of how clean your concrete was going in.
WARNING: Rolling a fresh coat over a floor that's already peeling never fixes it, no matter how thoroughly you clean the surface first. If the original coating lost its bond to the concrete, the layer underneath is still compromised, and a new coat on top just traps that failure and inherits it. Peeling coatings need to come off entirely, down to bare, properly profiled concrete, before anything new goes down.
Frequently Asked Questions
Can a peeling garage floor coating be fixed without redoing the whole floor?
Yes, if the damage is isolated and the surrounding coating remains firmly bonded. Small areas can be cut out, mechanically ground, and recoated. Widespread peeling usually requires complete removal and replacement.
How do I know if my garage floor has a moisture problem before I coat it?
Tape plastic sheeting tightly to bare, dry concrete and leave it for 24 hours. Condensation underneath indicates moisture vapor. Professional installers can also use relative humidity testing for more accurate results.
Does grinding damage the concrete slab?
No. Proper diamond grinding removes surface laitance, contaminants, and weak material while creating the profile needed for coating adhesion. It does not damage the structural slab when performed correctly with appropriate equipment and technique.
Is polyaspartic automatically better than epoxy for a garage floor?
Not necessarily. Epoxy provides strong adhesion and chemical resistance, while polyaspartic offers faster curing, UV stability, and excellent heat resistance. Many durable garage systems combine an epoxy base with a polyaspartic protective topcoat.
Why would a floor that held up fine for years suddenly start peeling?
A coating can eventually weaken from hot tires, heavy traffic, moisture, temperature changes, or surface wear. Once the protective layer deteriorates, the underlying bond becomes vulnerable, causing peeling that may spread gradually.
What Keeps a Garage Floor Coating Strong
A durable garage floor coating starts long before the finished surface comes into view. Moisture testing, proper mechanical profiling, and choosing materials suited to the slab and local conditions all work together to create a dependable bond. When those steps are handled correctly, the coating is better prepared for hot tires, daily traffic, temperature changes, and years of normal garage use without premature peeling, bubbling, or softening.
For property owners in Camdenton, MO, Honey Badger Concrete Coatings
brings 10+ years of experience to garage floor coating projects throughout the Lake of the Ozarks region. A properly prepared floor is not simply cleaner or rougher; it is a surface intentionally conditioned for the coating system being installed. That attention to the foundation beneath the finish is what helps a coated garage floor remain attractive, functional, and firmly bonded over time.